A very long period has passed since my last post, but if you followed me you should probably know that in the last two years I’ve made the biggest and hardest diy project I’ve ever did, my beautiful son Giorgio. I thought that I would have time and energy for continuing my work here, but let’s face it, growing a child is a full time job.
Now that he is one year old I have a little bit more time so here I am, with a new tutorial. In case you didn’t notice I’ve changed the name of my blog, not to start a brand new one but simply because during first months of motherhood I completely forgot about renewing the domain so I lost it.
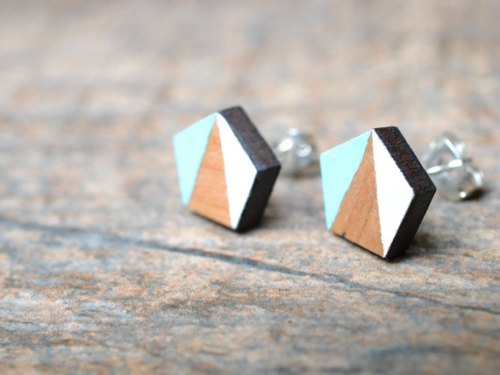
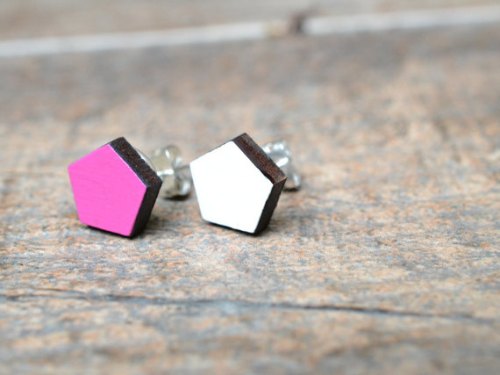
The tutaorial is very very simple, I fall in love with these earrings some time ago and now that it is almost Christmas I thought they could be a perfect gift for my friends.
Read also:
- What Is The Best Way To Clean Headphones And Earbuds?
- Does Tide Pods Have Fabric Softener? – An Uncovered Question
- Dyson Overheating Reset – Detail Guide to You
- How To Remove Urine Stains From Toilet Seats Step By Step
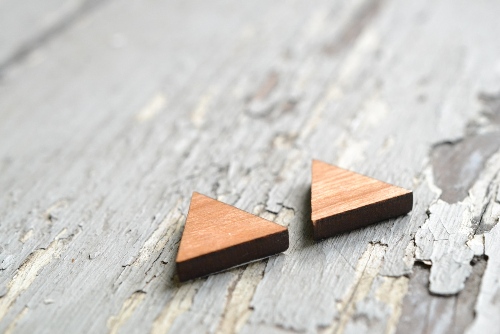
The hardest part of this tutorial is not about the procedure but about the materials, it was very hard for me to find these wood laser earrings, here the link on Etsy to buy them, so it would be easier for you. Another difficult part is to find a very sticky scotch, you will need it to made a good work.
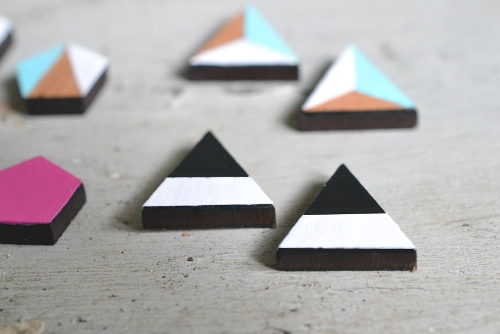
Once you have all these and acrylic paint you are already to go, just use the scotch for making your patterns. These are the ones I choose. All these procedure is quite easy but requires a very secure hand.
So here is the procedure in details:
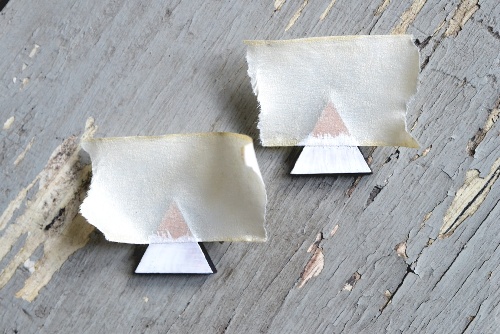
1) Choose a pattern and keep it in mind, try to enhance all sections you want to paint and use the scotch to mark them, probably you will need to do it in more than one step.
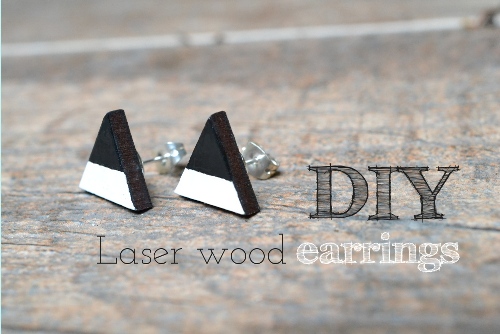
2) Paint the section entirely, if you need more hands of paint you will need to wait.
3) Remove the scotch, and proceed to the next section, mark it with scotch and paint it.
4) Let everything dry and then finish the work with transparent painting. That’s it!